Introducing Comment Monk: simple comment hosting system for static blogs and websites
I wanted to implement a comment hosting system for my static blog—something as simple as the basic WordPress.org commenting feature, with fields for the user’s name, website, etc. No complicated logins, sign-ups, or third-party platforms. The user reads your blog, posts a comment, and you approve it from the backend (or, alternatively, it gets auto-approved, and you receive an email notification). As simple as that!
Since GitHub Pages doesn’t provide backend PHP scripting, I had to develop an entire backend app along with a frontend ECMAScript (JavaScript) script that could be plugged into a div block at the end of a blog post—typically the space reserved for comments. Comment-Monk is the result of that effort. I’ve made this app open-source and hosted it on GitHub so that it can be used by as many folks as possible.
To use this app on your own static blog, simply download the repo and deploy it to a PHP web hosting service. It’s a lightweight script with an SQLite backend, intentionally kept small enough to be deployed on one of those affordable (even free) PHP hosting services.
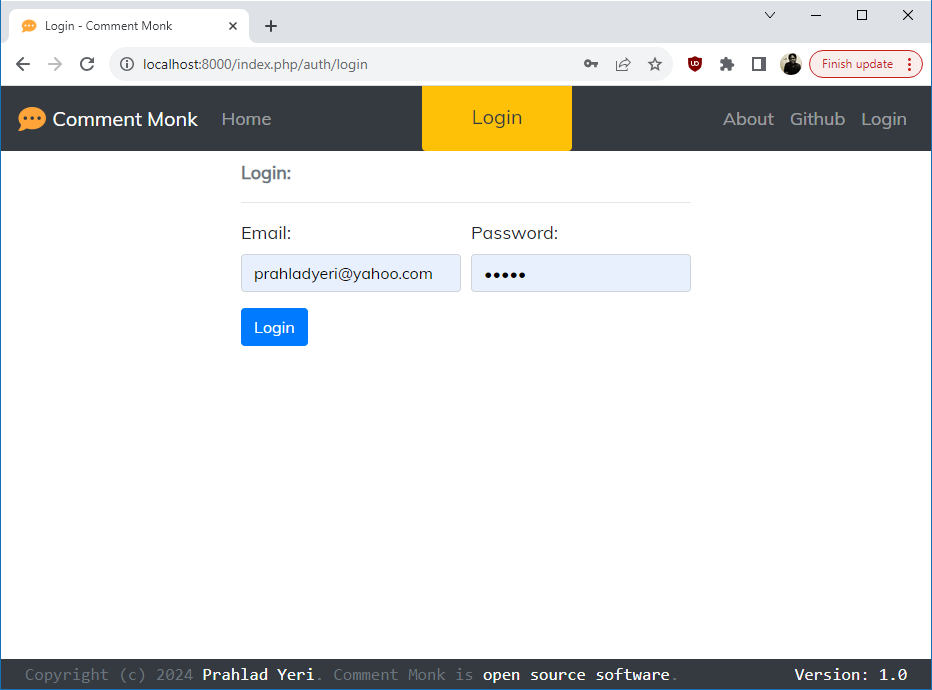
Once you start the app, you’ll be taken to the Install page, where you can register with your details and credentials, which you’ll use to log in as a superuser. It also asks for the website or domain of your blog where you’ll host the commenting system.

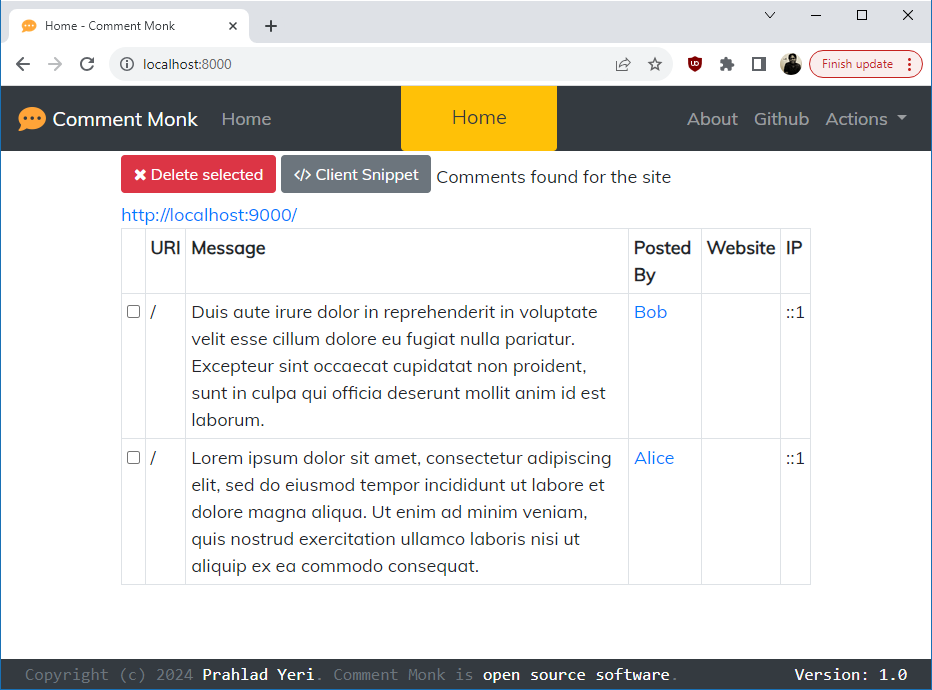
Once logged in and on the homepage, you can see this screen where you can view and manage comments. Right now, you can only view and delete comments, but more features are on the way in upcoming versions. You can also set your user preferences from the “Actions” menu in the top right.

Most importantly, you can click on the “Client Snippet” button, which will guide you through implementing the frontend HTML code to embed the comments.
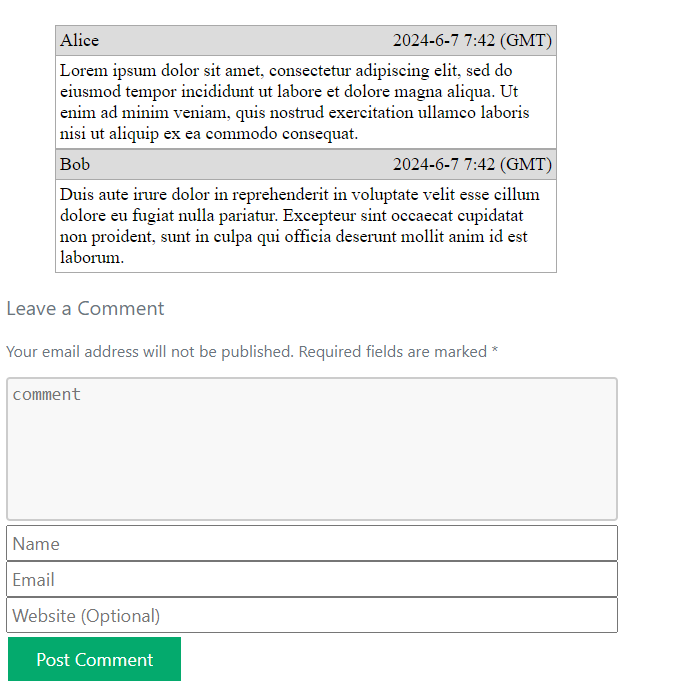
Once you’ve done that, your static blog should look something like this:

At the place where you added the script tag, you should be able to see a comment block displaying all existing comments along with a submission form for posting new ones.
Your audience can read your content and post comments. The backend validates the URI (Uniform Resource Identifier), and if a registered domain is found, it creates an entry for that comment, which will be reflected on the administrator’s (YOUR) dashboard. I think this is about as simple as it can get!
The comment block has a very basic and minimal design by default, but you can fully customize it by editing the /static/cm-client.css on the backend, which is used for styling.
I hope you find this system useful for your static blog. If you encounter any issues, don’t hesitate to raise them on the GitHub tracker. Happy coding!
Edit: 2024-11-07
While Comment-Monk was a great academic exercise, I realized through this experiment that hosting and maintaining your own custom solution isn’t as trivial for an indie tech blogger as it may seem. To be honest, it’s not even necessary. Between the complexity of maintaining a custom comment system and the ad-ridden, privacy-unfriendly platforms like Disqus, I found Giscus to be a good middle ground. That’s why I made the switch.